 |
| Image from Pinterest |
One helpful blogger told me that you basically make it all up in two layers so that you can put in maybe half of the boning, use an old eyelet strip to lace it up, and then repeat. Numerous times.
I think I only made one mockup, added 4cm to the length at the point at which it told me to lengthen/shorten as I have a long body, and cut it out using the size 8 and making no adjustments to the bust or waist. I tend to also have a narrower waist as well as bust to the norm so I should have learned to make mock-ups and adjust patterns years ago. However stays are so personal to the individual that all that correct fitting is heightened.
I decided to machine sew the stays as much as possible, as the fabrics weren't strictly accurate and I was also not quite sure they would work out! There is no way I wanted to waste 40 hours of my life for something I was going to throw out.
After the mock-up, I cut out the pattern using a thick cotton left over from some blinds I'd made, cotton duck left over from slip covers I'd made, and the aforementioned 'unneeded' cotton sheet. I stitched together the self and interlining fabrics, then sewed them together as one, as with the lining. Once pressed, they looked quite smart and well-behaved.


When I got to the back centre edges, I folded the seam allowance at the marked place, so that the boning continued over the seam allowances nice and neatly, leaving room for two bones in the last channel. The pattern called for metal bones at the seam edge of each panel, however I didn't have access to these so I made each one slightly wider and inserted two zip-ties instead.
Yes, this does reduce the size of the stays, but hopefully the mock-up has taken this into account and the stays are slightly too large! Also, by making sure there is plenty of ease at the lacing edge, the stays can be loosened if too tight and then tightened again once they stretch and give with wear.


However, I didn't find this until I had finished the tabs! For some reason I thought that it would be easier to use wider binding, so bought ready-made binding in the wider size. I feel better knowing that that was part of the reason it was so difficult, but to be quite honest it wasn't too torturous.
In my naivety I didn't realise that I could sew the outside of the binding on by machine, saving myself a lot of trouble. I pinned the binding around the stays, then slipstitched them on by hand. Not neat, not smart, but serviceable. Actually, probably not serviceable either by hey, I wasn't planning on wearing them every day or anything!


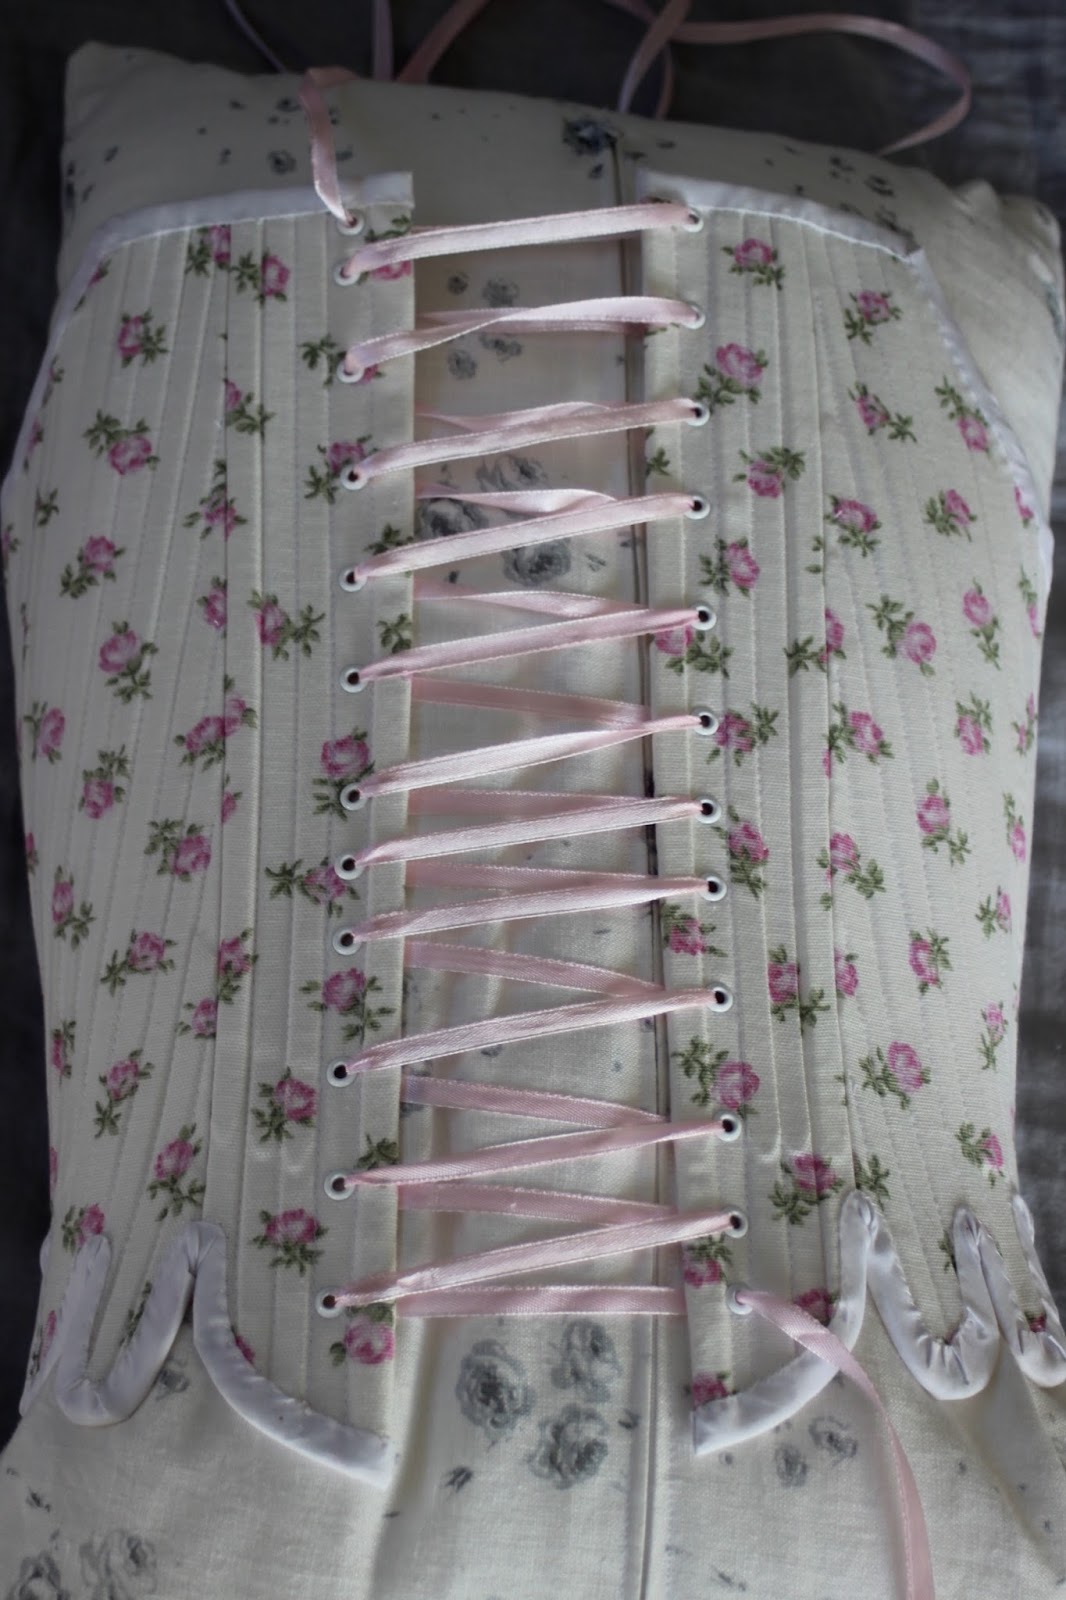
The final stage was the eyelets. With the same mentality as that I had with the sewing, I decided to use metal eyelets instead of working by hand. I found them in white at the local fabric store, as well as a little tool to insert them. The tool is terrible and leaves the edges all ragged. It ruins the ribbon I laced it with, so I decided to either a)become more authentic and make them by hand next time or b)not be so cheap and go out and spend $50 on a better tool.
I inserted the eyelets in the recommended spiral style, not entirely evenly! Oh well, I tell myself it's my practice set of stays.

Finally the stays were finished!
I thought I had been clever by buying a mannequin before starting on this project. Wouldn't it just make all the work easier! I could simply make the dummy my own dimensions and pin to my heart's content. Of course, the dimensions are all well and good, but they don't actually go small enough for me in the waist and bust, and as we all know (now), corsets and stays are to create a specific shape that a solid dressmakers dummy won't conform to! So a bolster pillow did for the photos. I promise I will get some of it on myself once I get around to it.

Just for interest's sake:
Fabric: Left-over cotton curtaining 50cm: $0
Left-over cotton duck interlining 50cm: $0
Cotton sheet 50cm: $0
Eyelets x24 $5
Poly thread: $0
Bias binding: $3
Poly ribbon 2m: $2
Zip-ties 40cm x100 (not sure how many I used): $20
TOTAL: NZ$30
No comments:
Post a Comment
I would love to hear from you!